
Setting up a tent can be a daunting task for beginners, but with the right guidance, it can be a straightforward and rewarding experience. This comprehensive guide will walk you through the process step-by-step, ensuring that you have a successful and enjoyable camping trip. We’ll cover everything from choosing the right tent to breaking camp, with plenty of tips and tricks along the way.
Table of Contents
Choose a campsite that is flat, dry, and free of debris. Avoid areas with overhead hazards like dead tree branches. Check for regulations and rules regarding camping in the area.
Before heading to your campsite, unpack your tent and inspect all components. Ensure you have all necessary parts, including tent poles, stakes, and rainfly. Familiarize yourself with the setup instructions.
Check the weather forecast before your trip. Knowing the expected conditions can help you prepare appropriately and avoid surprises.

A footprint or ground cloth protects the bottom of your tent from abrasion and moisture. Lay it out flat on your chosen campsite.
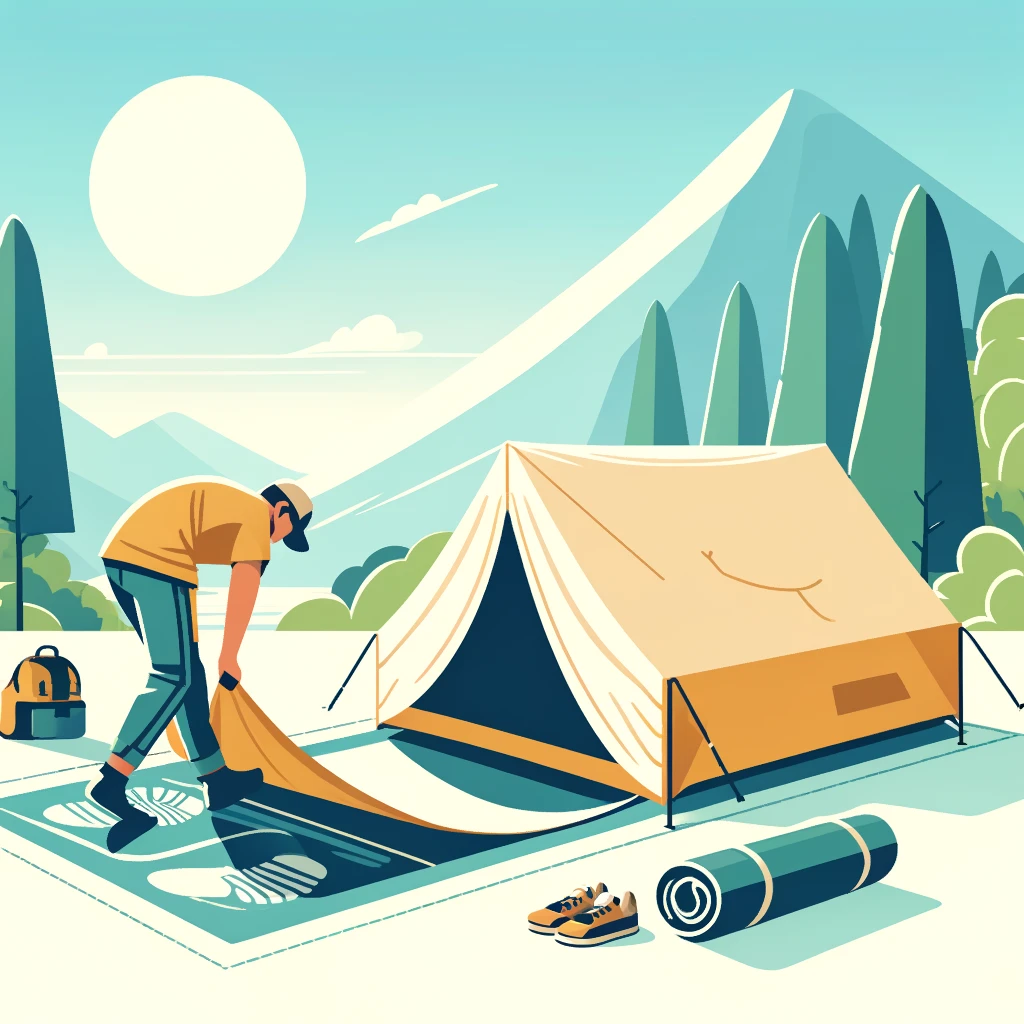
Unroll the tent and lay it flat on top of the footprint, aligning the corners.
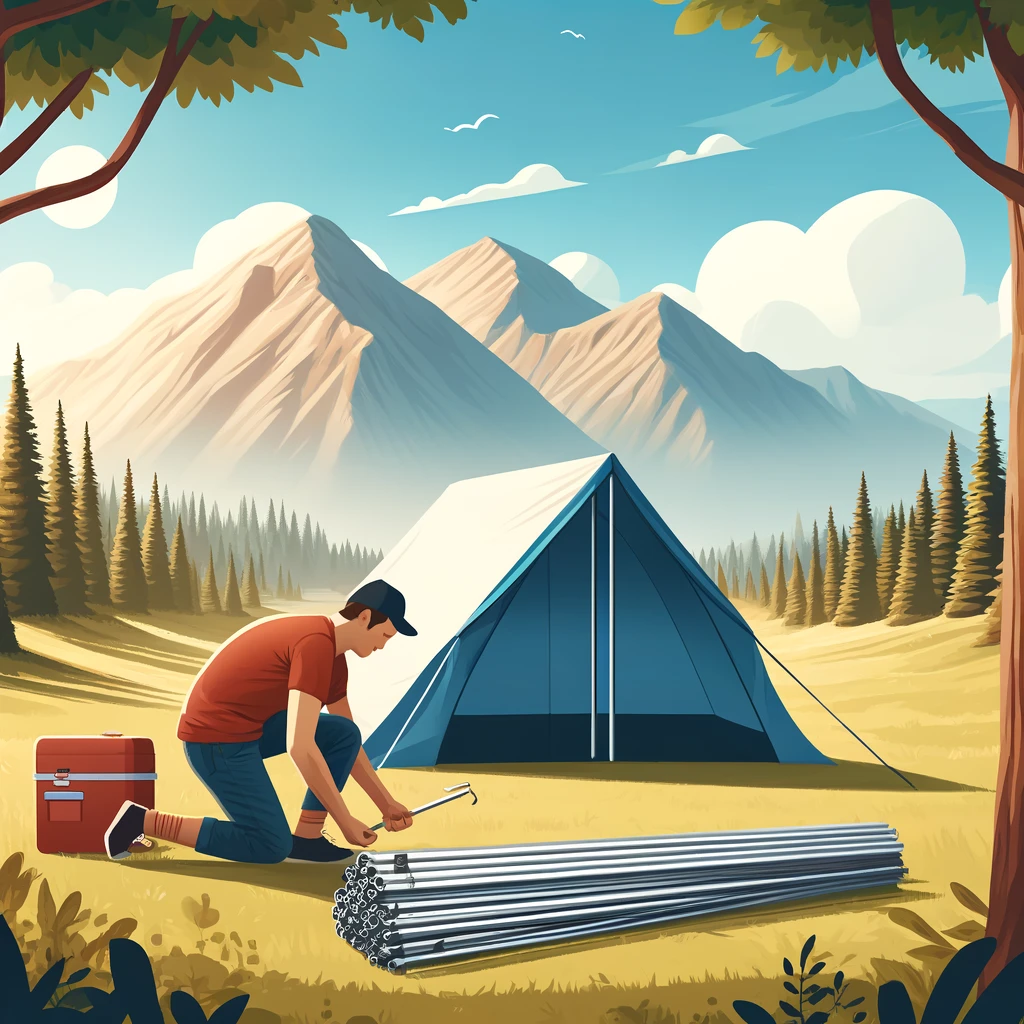
Most tents use flexible poles that are shock-corded for easy assembly. Connect the poles according to the instructions.
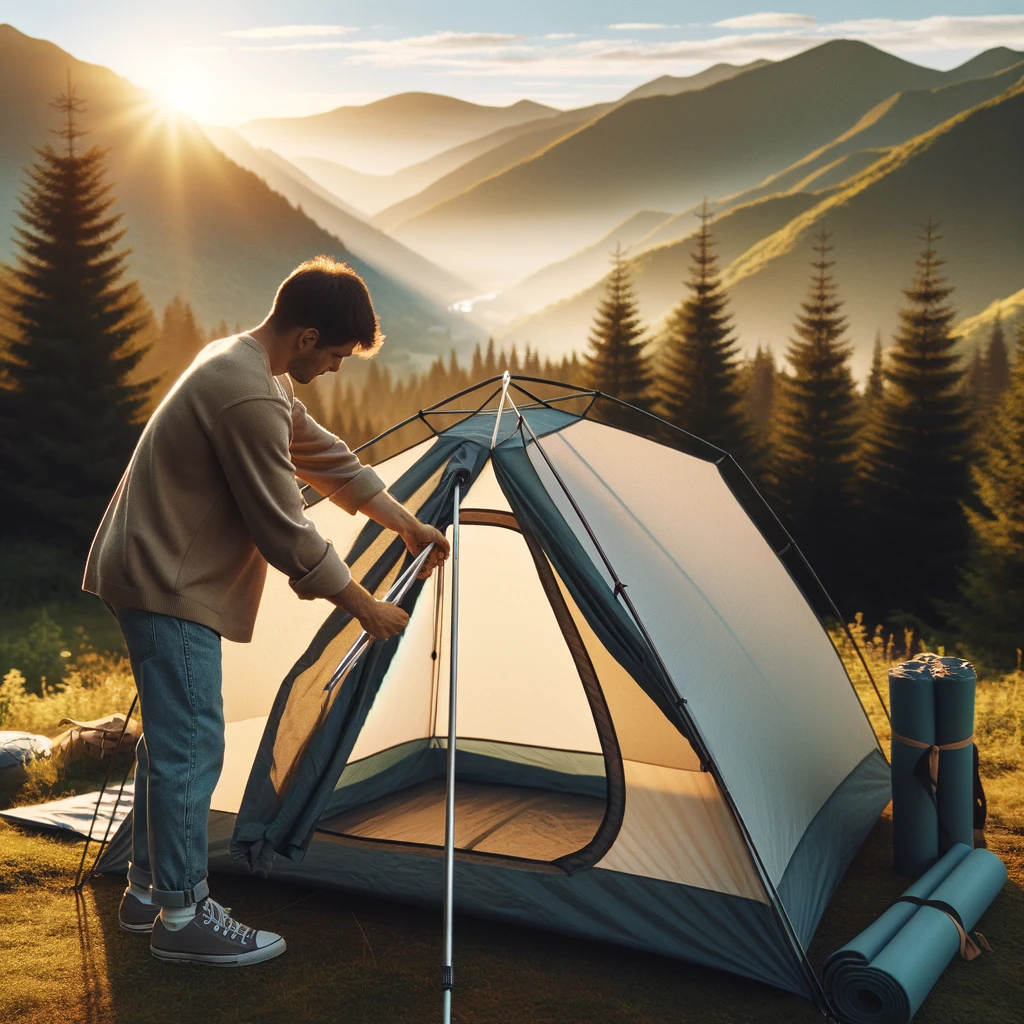
Insert the poles into the corresponding sleeves or clips on the tent body. This will typically form an X shape for dome tents.

Gently lift the tent by the poles and secure them into the grommets or pins at the base of the tent. The tent should now stand on its own.

Use tent stakes to anchor the tent to the ground. Insert stakes at a 45-degree angle away from the tent for maximum holding power.
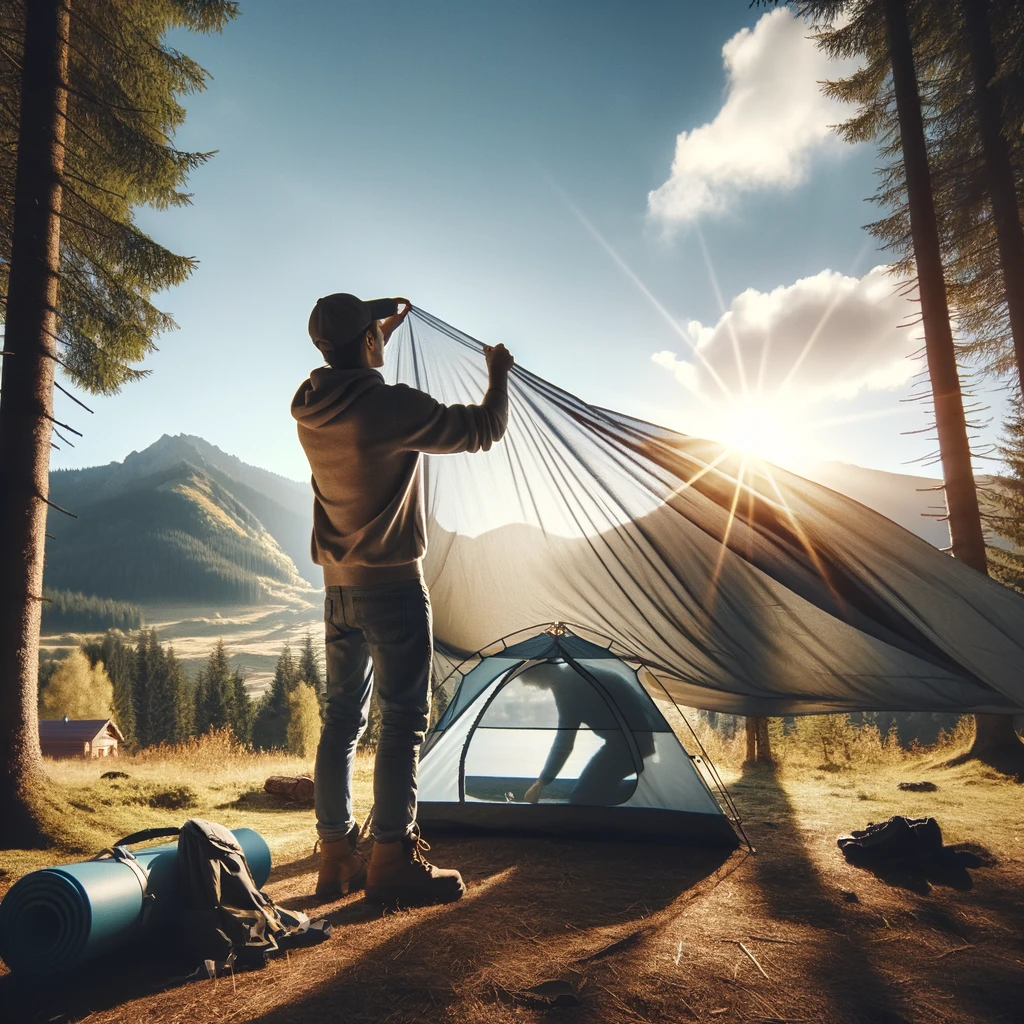
If your tent comes with a rainfly, drape it over the tent and secure it using the provided buckles or clips. The rainfly provides additional protection from rain and wind.
Place sleeping bags or air mattresses on the tent floor. Organize your gear so that frequently used items are easily accessible.
Use the tent’s storage pockets or vestibules to keep your gear organized and off the ground. This helps keep the tent interior clean and free of clutter.
Open any vents or windows to allow for proper airflow, which reduces condensation inside the tent.
Ensure your tent is completely dry before storing it to prevent mold and mildew. Store it in a cool, dry place away from direct sunlight.
Set up your tent in your backyard or living room before your trip. This allows you to become familiar with the process and troubleshoot any issues.
A lightweight mallet can make driving stakes into hard ground much easier than using your hands or a rock.
Carry a tent repair kit that includes patches, seam sealant, and extra stakes. This can save your trip if your tent gets damaged.
Some campsites have specific rules regarding tent setup, such as designated tent pads or restrictions on staking. Familiarize yourself with these rules to avoid fines or penalties.
While it might be tempting to buy the cheapest tent available, investing in a quality tent can provide better protection, durability, and comfort.